To make a wordpress website you need following:
- Wamp/Xampp/Lamp server (Wamp: for Windows OS, Lamp: for Linux OS, Xampp: for multiple OS platforms.)
- WordPress files.
If you have both, already in your system that’s fine. Let’s start the development of your website. (For localhost)
Step 1 – Start all the services of Wamp server in your localhost.
Step 2 – In your system drive there is a directory wamp64, open it:
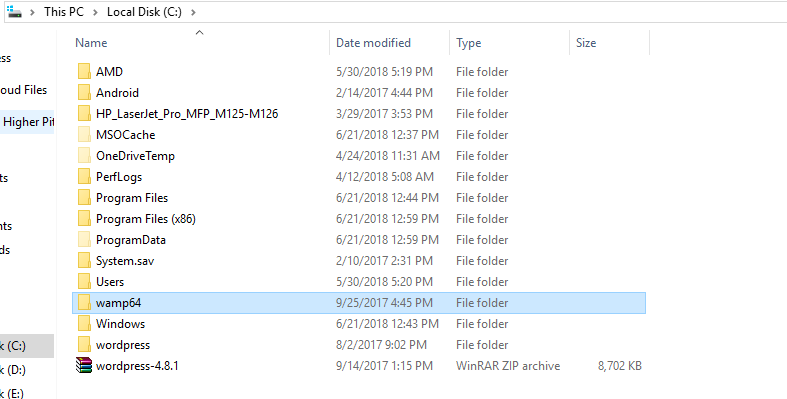
There is a “www” directory inside “wamp64”.

Click on “www” to open it.
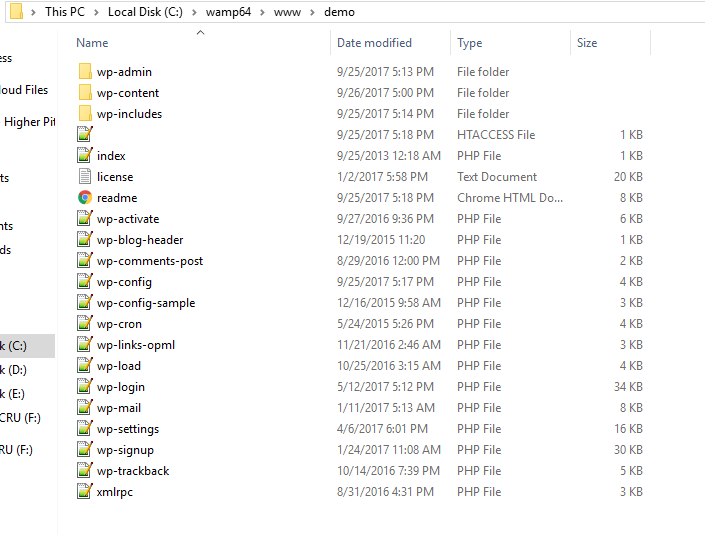
Step 3 – In the above directory, you can create a new folder with your website name (ex. demo or any name as your website’s functionality.)
Step 4 – You can copy all the wordpress files and paste it into your website (demo) folder.
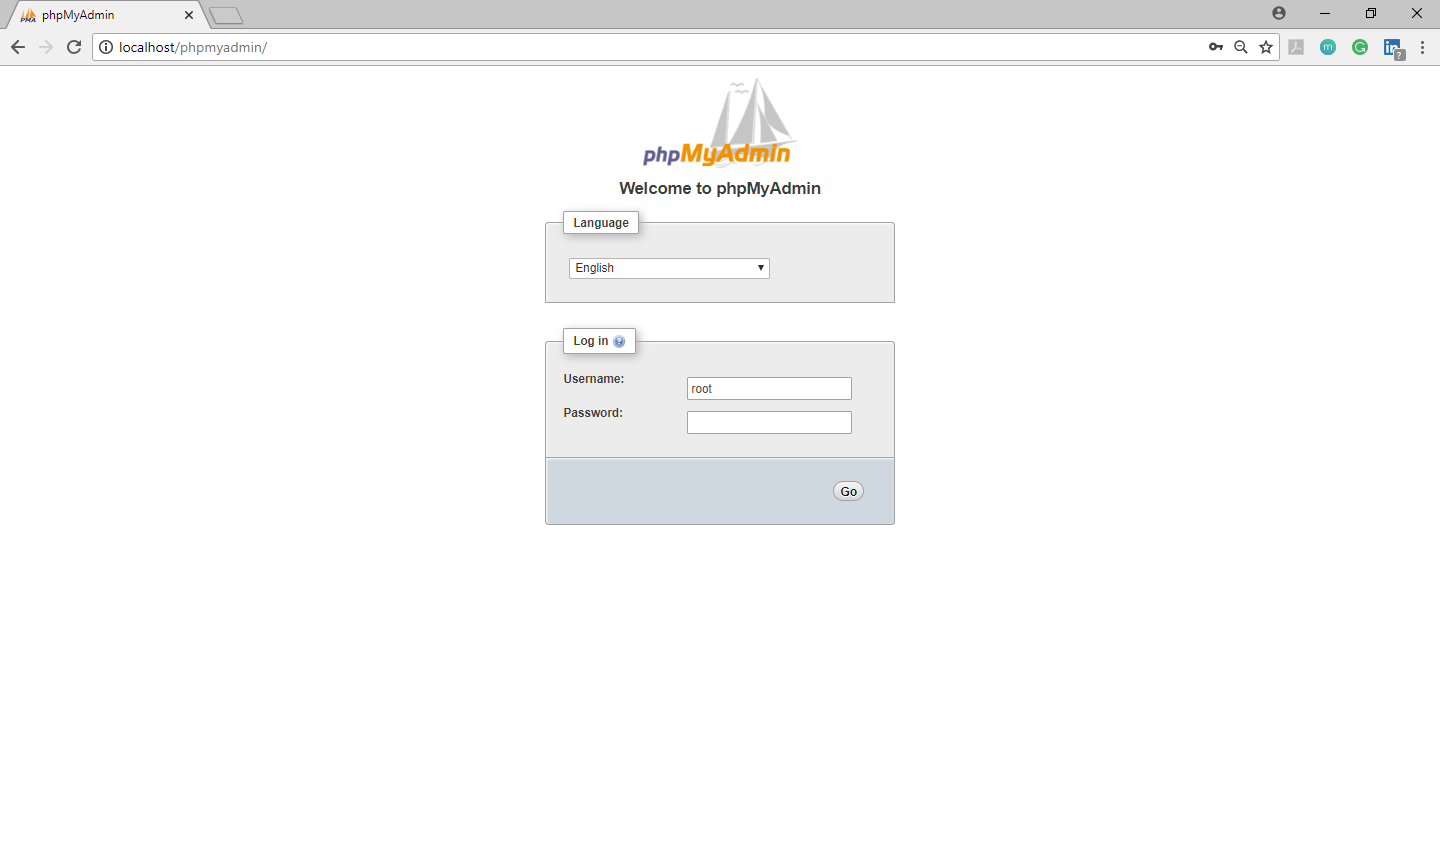
Login to your phpmyadmin database with your credentials and click Go.
Step 6 – Click on New to create your project’s (website) database with same name as your project or as you wish.

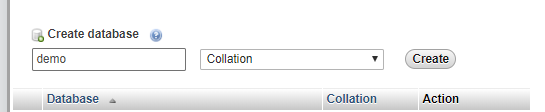
Click on Create after you fill your database name.
Step 7 – Again go to your browser and search localhost/demo:
![]()
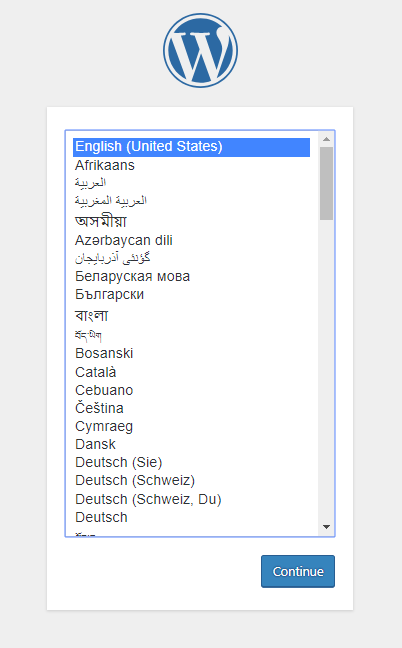
Step 8 – Select your language (By default: English) and continue:
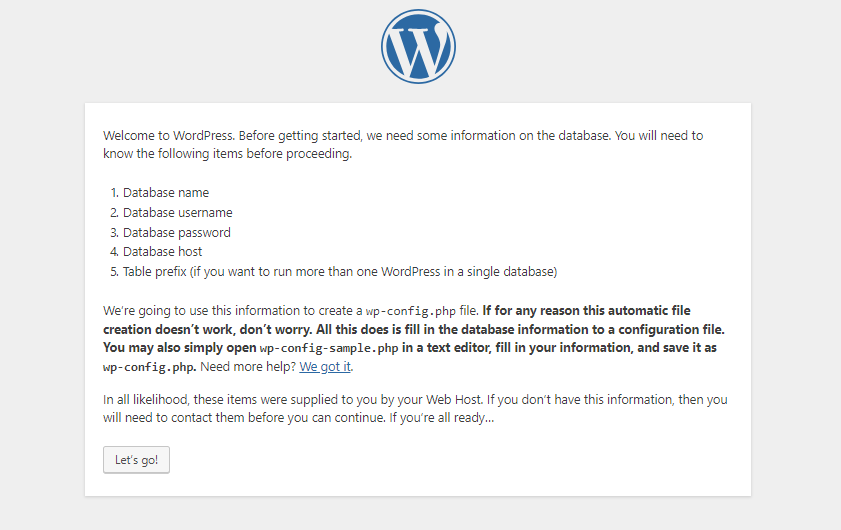
Step 9 – Click on Let’s go! for next process:
Step 10 – Fill up all the following data:

- Database Name – Enter your database name (Ex. demo).
- Username – Enter your username which you can use in phpmyadmin login time.
- Password – Enter your phpmyadmin database password which you can use in phpmyadmin login time.
- Database Host – Database Host name is localhost this is because you can run your website in local server.
- Table prefix – Table prefix name is wp_.
After filling every input field click on submit button.
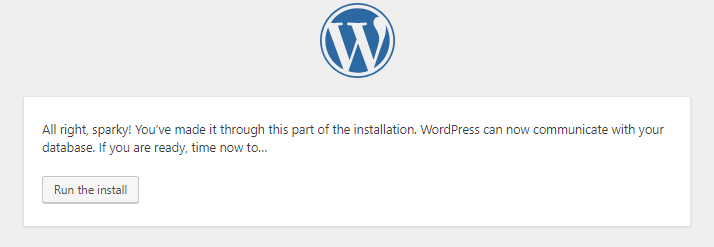
Step 11 – Click on Run the install button.
Step 12 – Fill up all required fields.
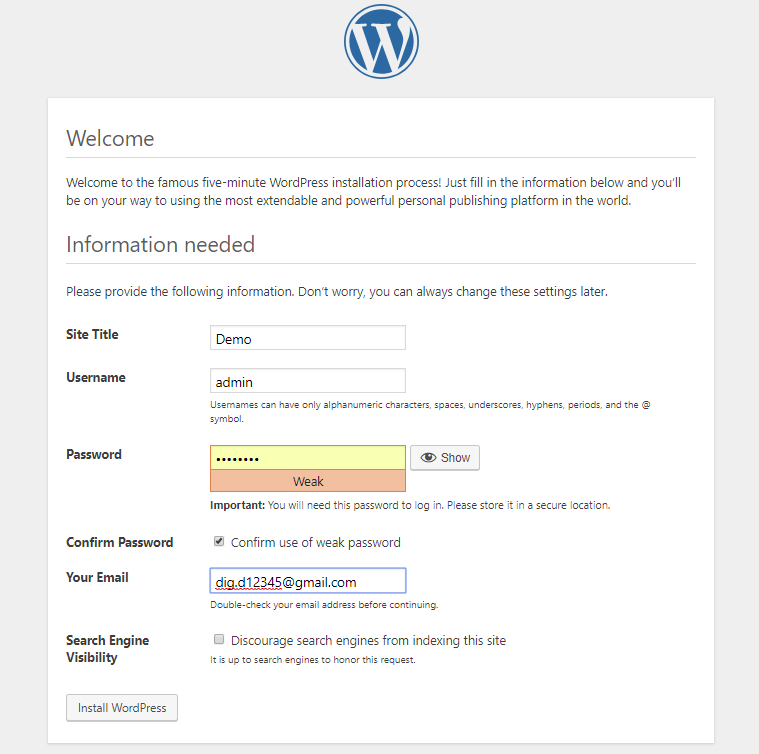
- Site Title – Enter your site title (Ex. demo).
- Username – Enter your username for login to your website’s backend.
- Password – Enter your password for login to your website’s backend.
- our Email – Enter your email id.
- Search Engine Visibility – Leave it uncheck.
After filling all data click on Install WordPress.
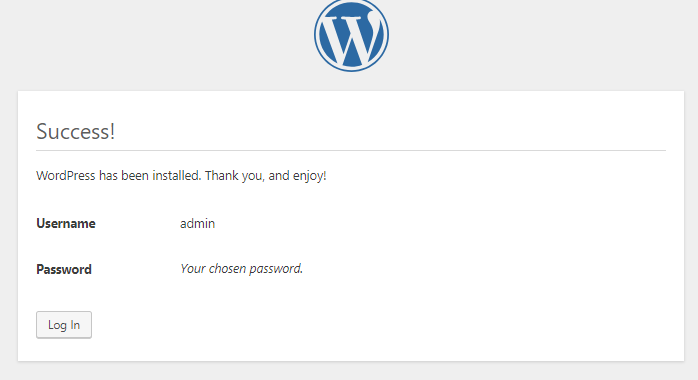
Step 13 – Click on Log In to open your Dashboard for development.
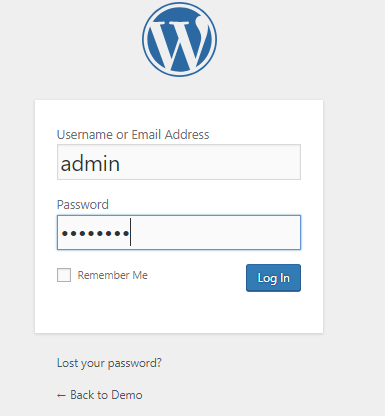
Step 14 – Enter your username and password for login:
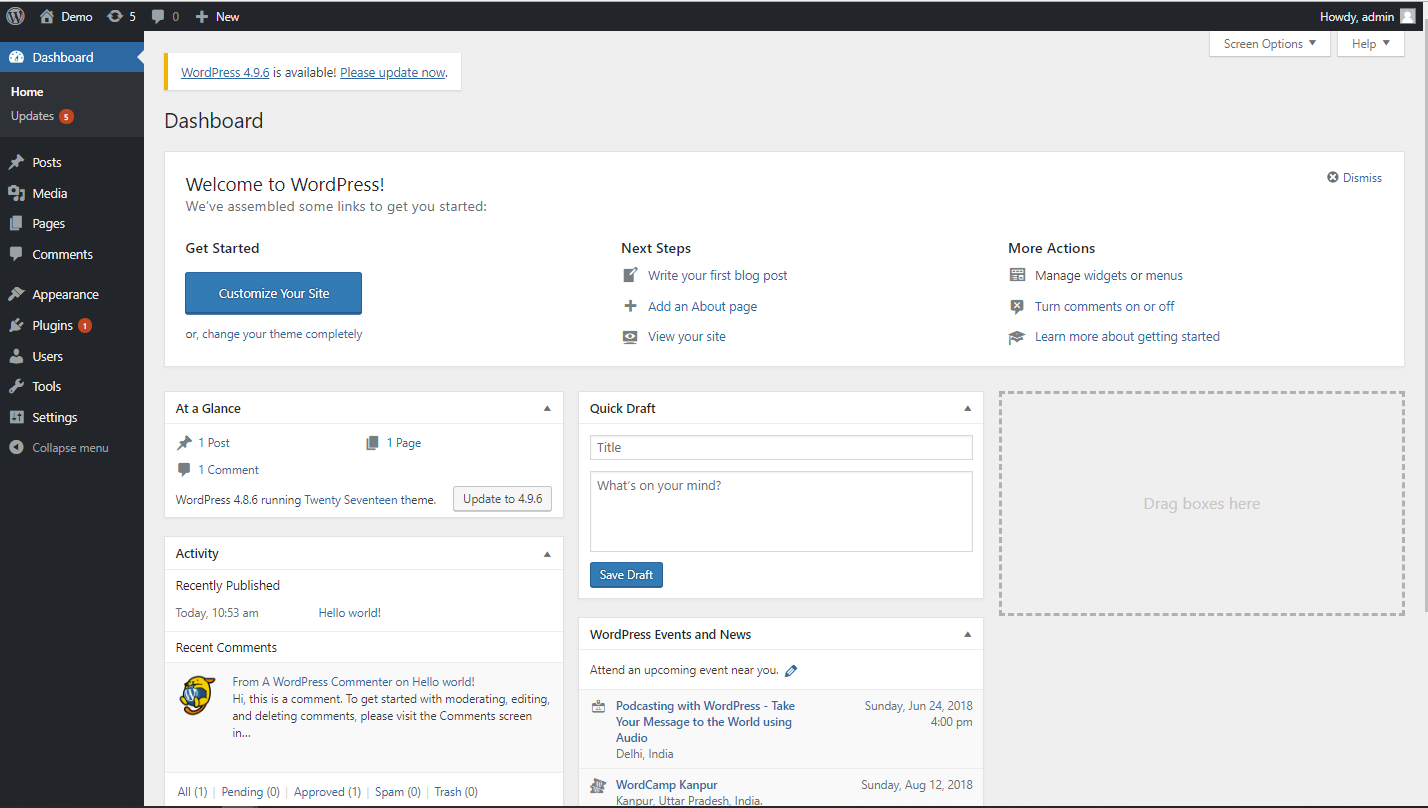
Step 15 – Here is your Dashboard, if you want to see your website’s first look click on Demo button and right click to open it in new tab.
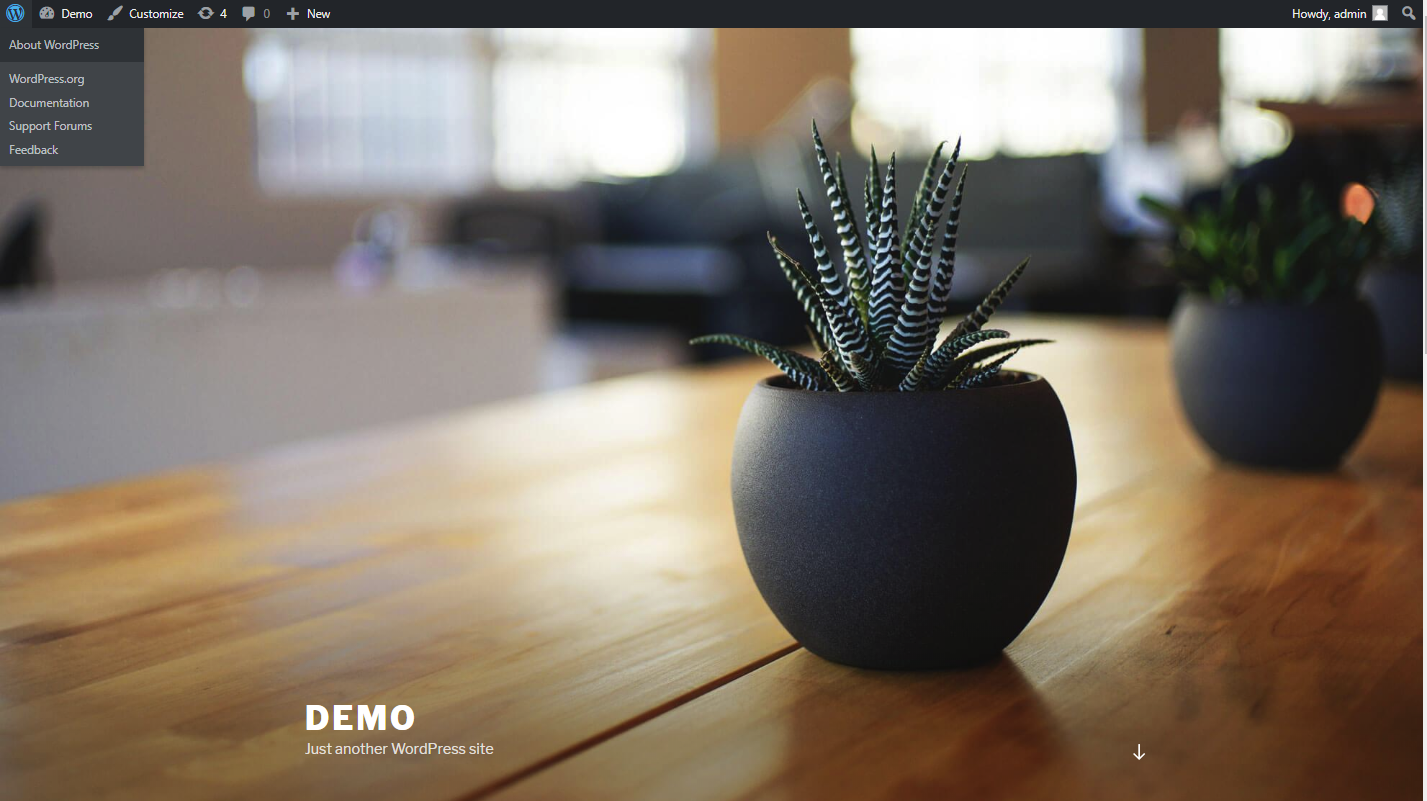
First look of your website.